
Before the project starts
My engine compartment before the project began. Everything's stock, except for the aftermarket mechanical gauges. Things are a little messy due to years of various people running wires or repairing something and having a different style. This is something I intend to change.
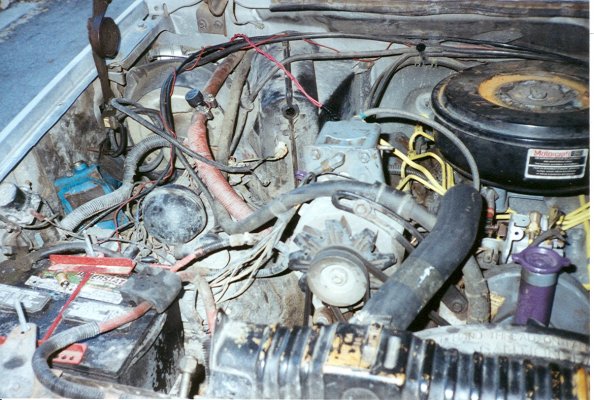
YIPES! This is what I not-so-affectionately refer to as the rats nest. When my uncle owned this truck, the engine compartment became a haven for squirrels. The squirrels chewed on some of the wiring (notably the wires going to the glow plugs), so my uncle ripped out all of the wire looms and whatnot to find broken wires to re-splice. He was in a hurry in most cases, though, and one of my efforts in this project is to clean up that area, re-loom the wire bundles, and ensure that all wires are in good shape.
Before the project begins
Removing external parts and accessories
Heads, gaskets, and the block after head removal
Removing timing gear cover and camshaft
Cleaning the ins and outs of the engine
Final engine block cleaning with compresed air
Assembling and testing the oil cooler
First steps of modifications for the turbocharger
Comparing the stock head bolts to ARP studs (lengthy!)
Installing the intake manifold and injector pump
Assembling and installing the turbocharger