Cleaning the tops of the pistons
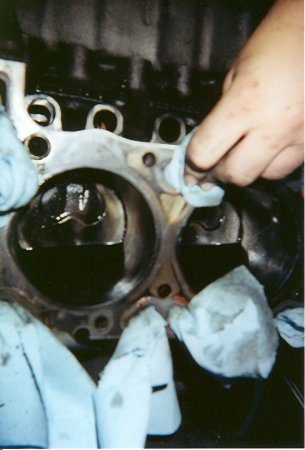
The passenger's side bank after a little bit of scrubbing with PB Blaster and a parts brush. This is actually the first time I've used PB Blaster, and I'm very impressed. :)
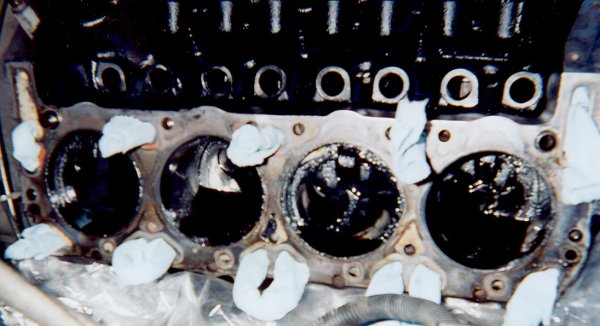
The driver's side bank after similar treatment. Note the shop towels I put in each coolant and oil passage hole in the block, to try and keep PB Blaster from getting into either area.
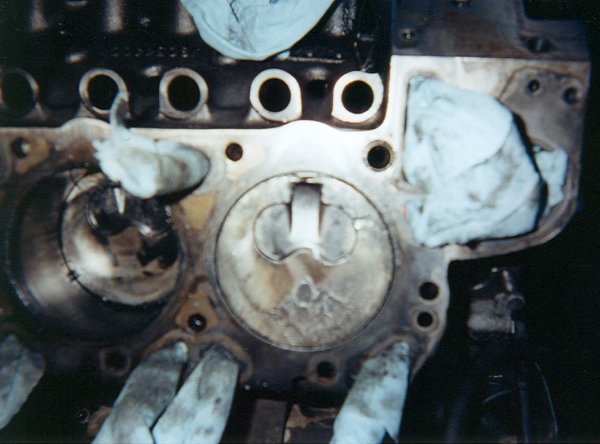
The problem child is revealed! This is the forward-most piston on the passenger's side bank. My best guess is that a glow plug tip fell in and got hammered between the piston top and the bottom of the cylinder head and made these marks. I'm lucky the damage wasn't any worse! As it is, while it looks bad, that cylinder holds compression nicely, so I'll leave it be for now. That piston will be replaced if I ever do a complete rebuild, though.
Removing external parts and accessories
Heads, gaskets, and the block after head removal
Removing timing gear cover and camshaft
Cleaning the piston tops
Cleaning the ins and outs of the engine
Final engine block cleaning with compresed air
Assembling and testing the oil cooler
First steps of modifications for the turbocharger
Comparing the stock head bolts to ARP studs (lengthy!)
Installing the intake manifold and injector pump
Assembling and installing the turbocharger