Engine parts ready to be painted
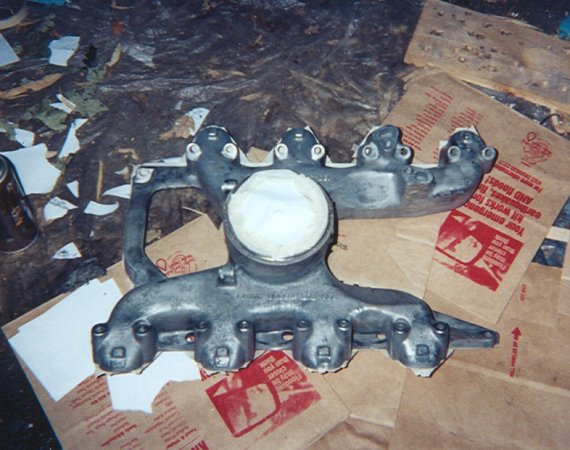
The intake manifold ready to be painted. I've got the gasket mating surfaces and each hole covered with masking tape and paper.
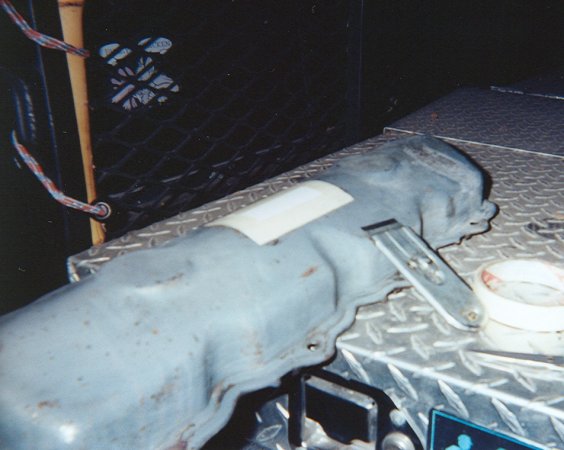
The passenger's side valve cover. I've hit it with a wire wheel to get all rust and loose paint off (and did some more after taking this picture), and again with steel wool to rough up the remaining paint so that the new coat will adhere properly. Here you can see the masking tape that I carefully placed over the factory rating label to keep paint off of there. As you'll see later, this worked really well!
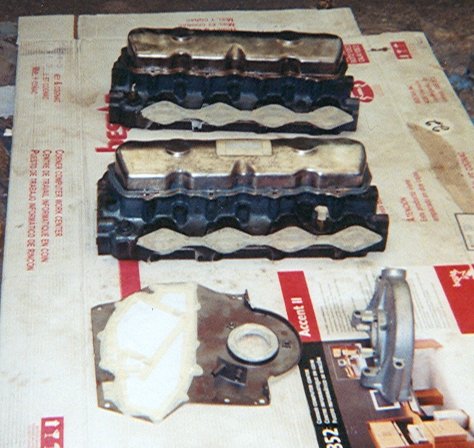
The cylinder heads, valve covers, new-to-me injector pump drive gear cover, and new-to-me timing gear cover, shortly before painting. I placed the valve covers on the heads so that I wouldn't need to worry about getting paint in the rocker arm /valve spring area. Even without a gasket, this worked very well.
Removing external parts and accessories
Heads, gaskets, and the block after head removal
Removing timing gear cover and camshaft
Cleaning the ins and outs of the engine
Final engine block cleaning with compresed air
Final painting preparation
Assembling and testing the oil cooler
First steps of modifications for the turbocharger
Comparing the stock head bolts to ARP studs (lengthy!)
Installing the intake manifold and injector pump
Assembling and installing the turbocharger