Installing the Camshaft
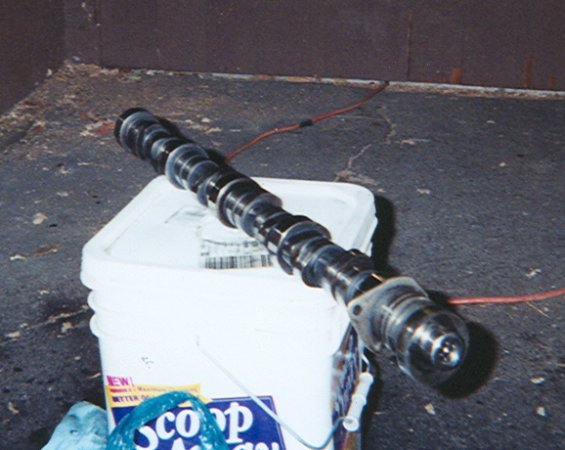
The original camshaft, after being inspected and declared to be in good shape, is in the process of being cleaned up for assembly. After getting all the old gunk off of there, I liberally coated each cam lobe and each bearing with engine assembly grease.
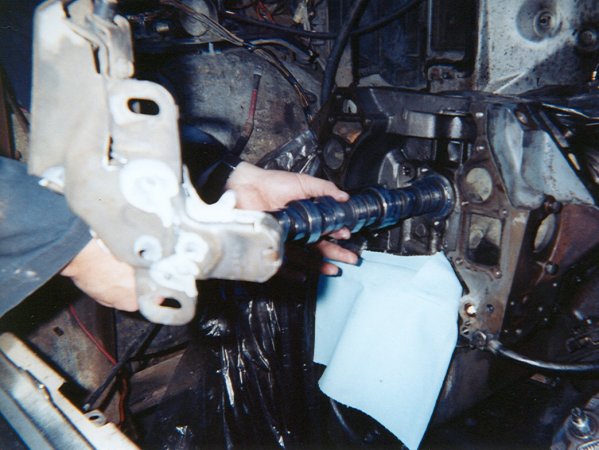
The camshaft being installed. The Ford shop manual calls for you to screw in a long bolt at the spot where the gear retainer bolt would normally thread in, and use that as leverage to get the cam to go straight in. Not having a bolt that threaded in properly, I did my best. I'm being careful to touch a part of the cam other than the lobes and bearings, to keep from disturbing the grease.
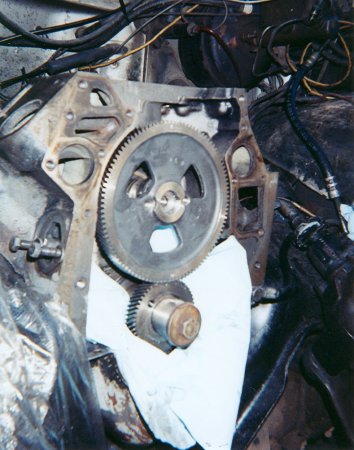
The cam's properly all the way in, and here I am in the process of trying to install the cam drive gear, using a hammer and a block of wood. At this point, the gear is approximately haflway on. As detailed in the next page, I learned a valuable lesson after doing this.
Removing external parts and accessories
Heads, gaskets, and the block after head removal
Removing timing gear cover and camshaft
Cleaning the ins and outs of the engine
Final engine block cleaning with compresed air
Installing the camshaft
Assembling and testing the oil cooler
First steps of modifications for the turbocharger
Comparing the stock head bolts to ARP studs (lengthy!)
Installing the intake manifold and injector pump
Assembling and installing the turbocharger