Cleaning various parts of the engine block
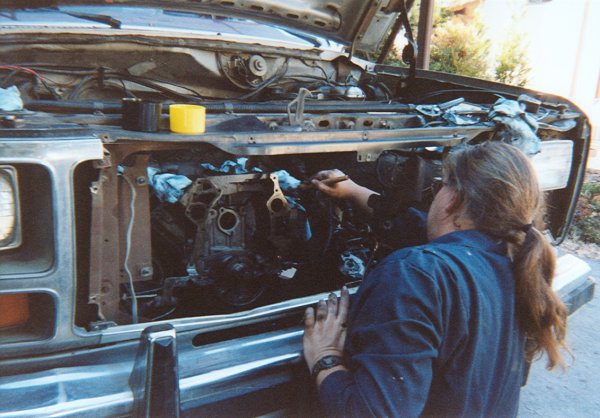
I don't know how that ugly SOB got in the picture! ;) I'm using a parts cleaner brush and some diesel fuel to clean off the driver's side of the block in this picture. I also used parts cleaner and diesel fuel to clean the valley and the timing gear areas. I opted to use diesel fuel because it's relatively inexpensive (compared to carburetor cleaner) and, most importantly, doesn't evaporate nearly as fast as most solvents. More than a small amount of this fuel will wind up in the oil pan, and I'd prefer it to go out the oil drain and into a pan I have set underneath, as opposed to evaporating and leaving the gunk it's carrying wherever it ends up. This was at the suggestion of members from TheDieselStop. :)
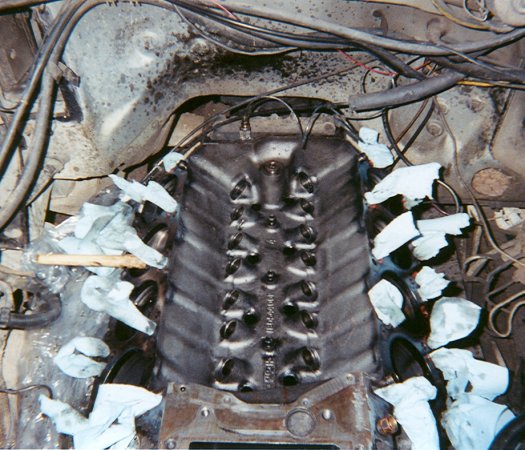
The valley after I finished cleaning it out. Far cry from the black mass when I first opened the engine up!!

The area that the timing gears are located in, after I finished cleaning up. As with the valley pictured above, the difference is simply astounding.
Removing external parts and accessories
Heads, gaskets, and the block after head removal
Removing timing gear cover and camshaft
Cleaning the ins and outs of the engine
Final engine block cleaning with compresed air
Assembling and testing the oil cooler
First steps of modifications for the turbocharger
Comparing the stock head bolts to ARP studs (lengthy!)
Installing the intake manifold and injector pump
Assembling and installing the turbocharger